
Hello, axiiio fans!
A little while back we revealed some of the work that we were doing on upgrading the encoders in the axiiio nano motor. Well, we're still working on getting them to work properly with the motors and our custom motor controller. There are one or two issues that we've still got to crack, but we're very confident that these will be an excellent upgrade for the system!
But we have a problem. Converting all of the motors that we have in stock to the new design requires some tricky modifications to the existing motors. The sensor wheel on the back of the motor shaft needs to be changed out for a different type of wheel and this means that the shaft sticking out the back of the motor needs to be trimmed down. "Easy", you say? Well, the length that's sticking out the back of the motor needs to be within 0.1 mm. That would be easy if we were manufacturing the shafts from scratch but they are already mounted in the motors and that makes this really quite difficult. That's problem number one.
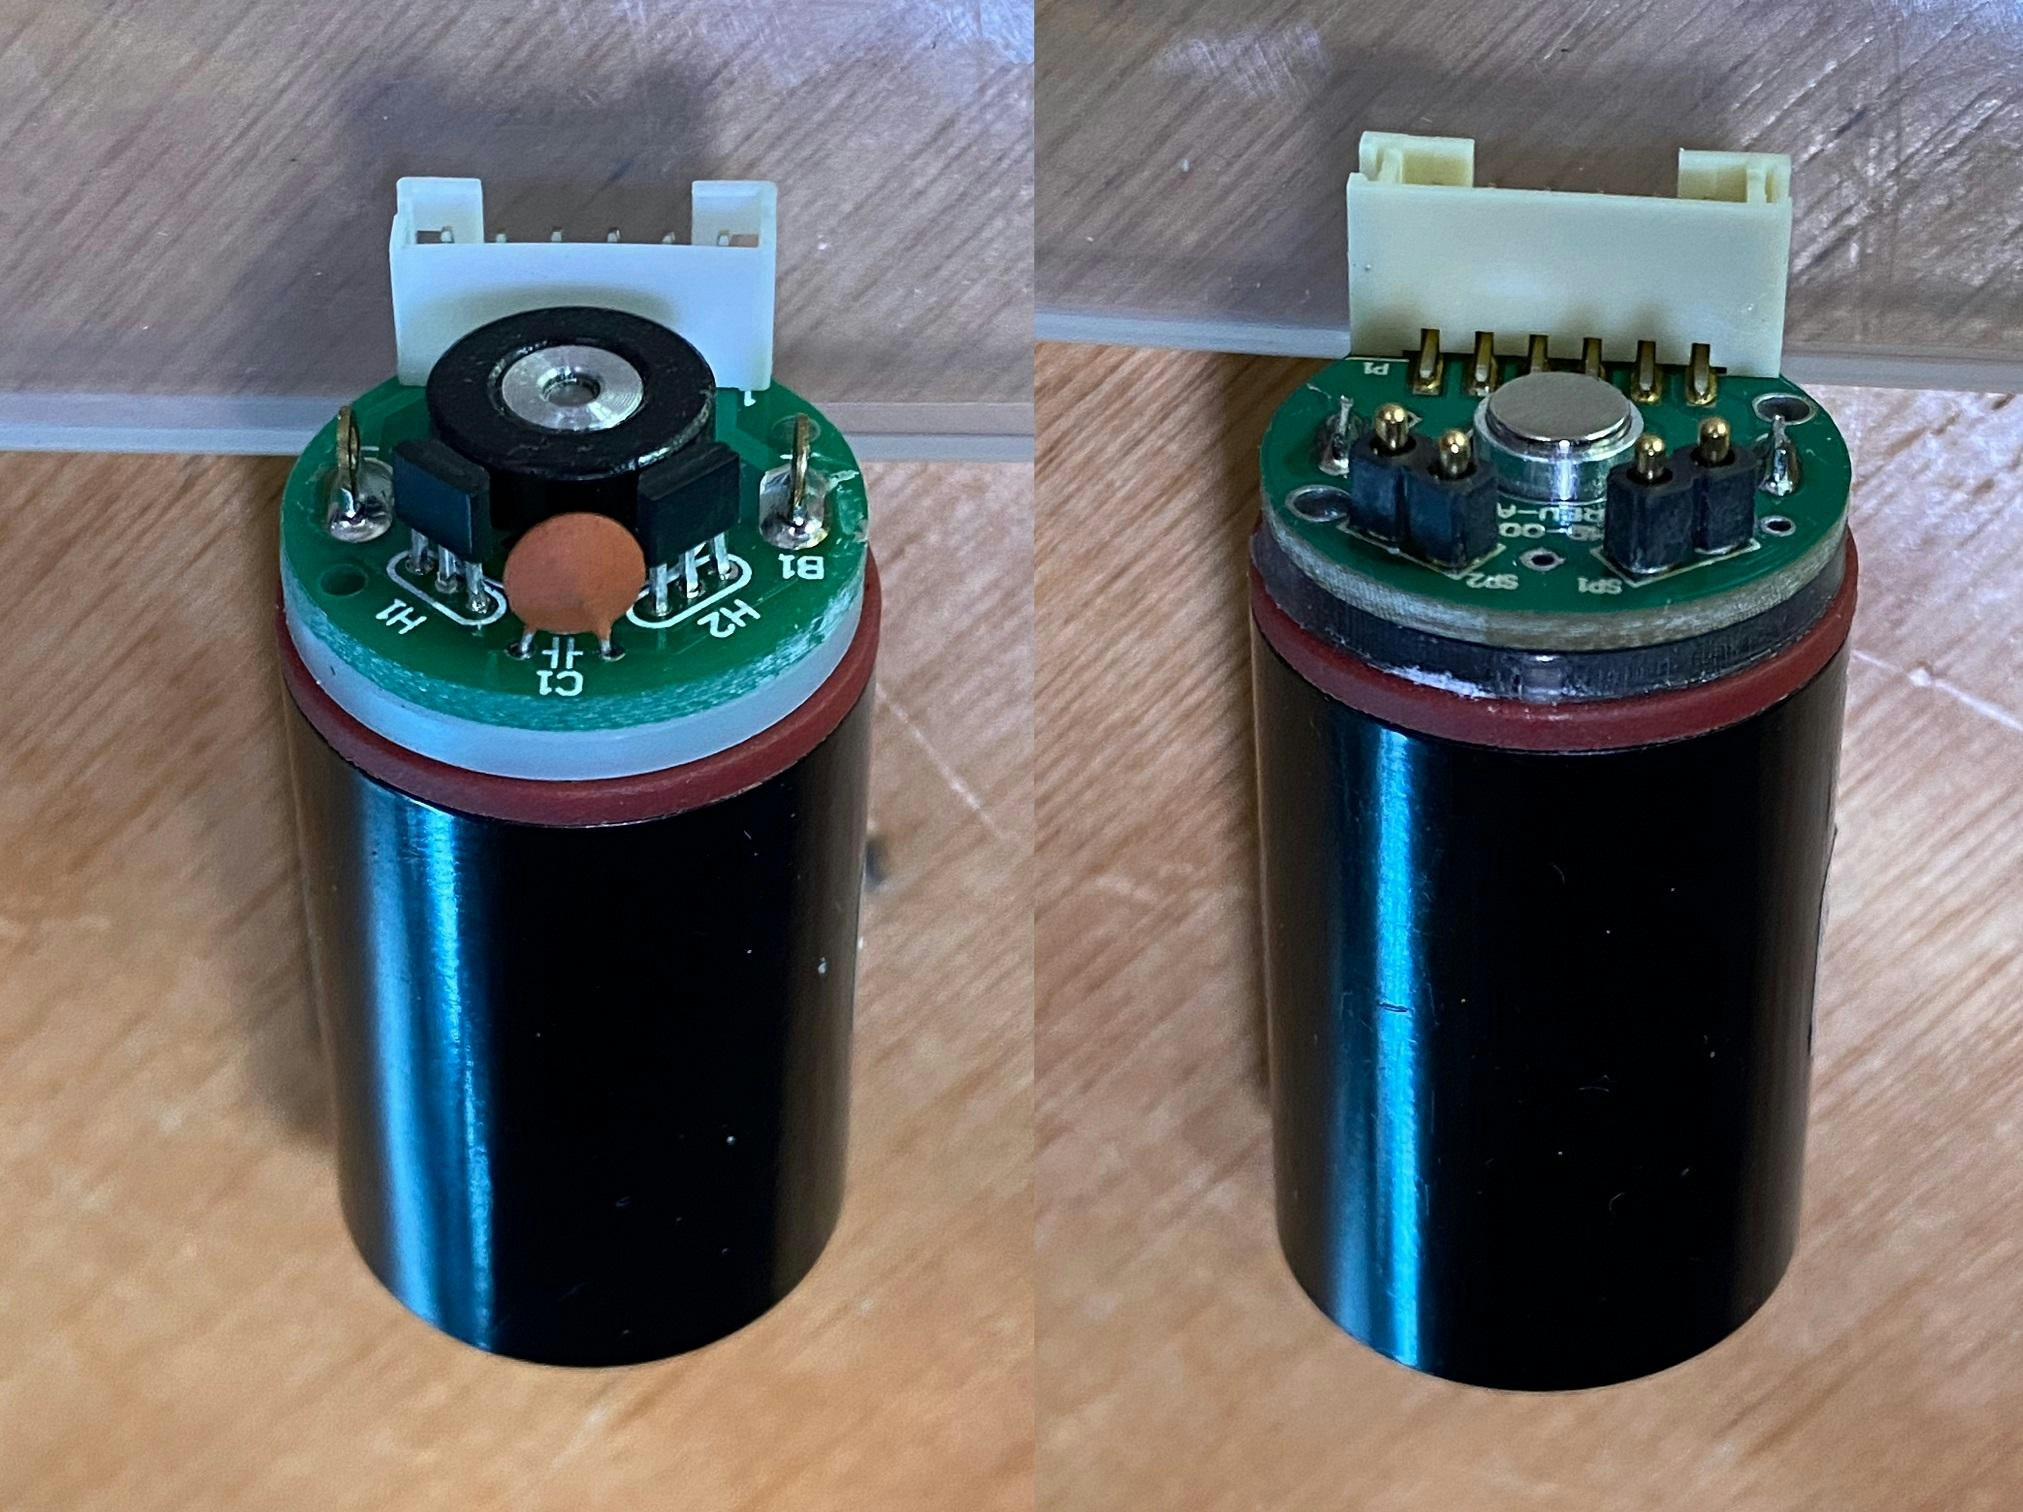
Old version on the left, new one on the right
Problem number two is that we have to press-fit these tiny, little wheels onto a tiny, little shaft that just loves to bend if the sensor wheel isn't pressed on absolutely perpendicular to the shaft. We know this because we've bent quite a few of those shafts working out how to do this properly!
Enter our old focus stacking rig! This rig was built many years ago by Adam to do some research work on ultra-high-pressure water jet nozzles. It was used with a high-resolution digital camera and some reversed lenses to take close-up macro photographs of the insides of nozzles to show the wear patterns. Basically, a manual focus stacking rig. We actually converted this rig to be controlled by one of our pancakes which you can see in a short clip on our YouTube channel.
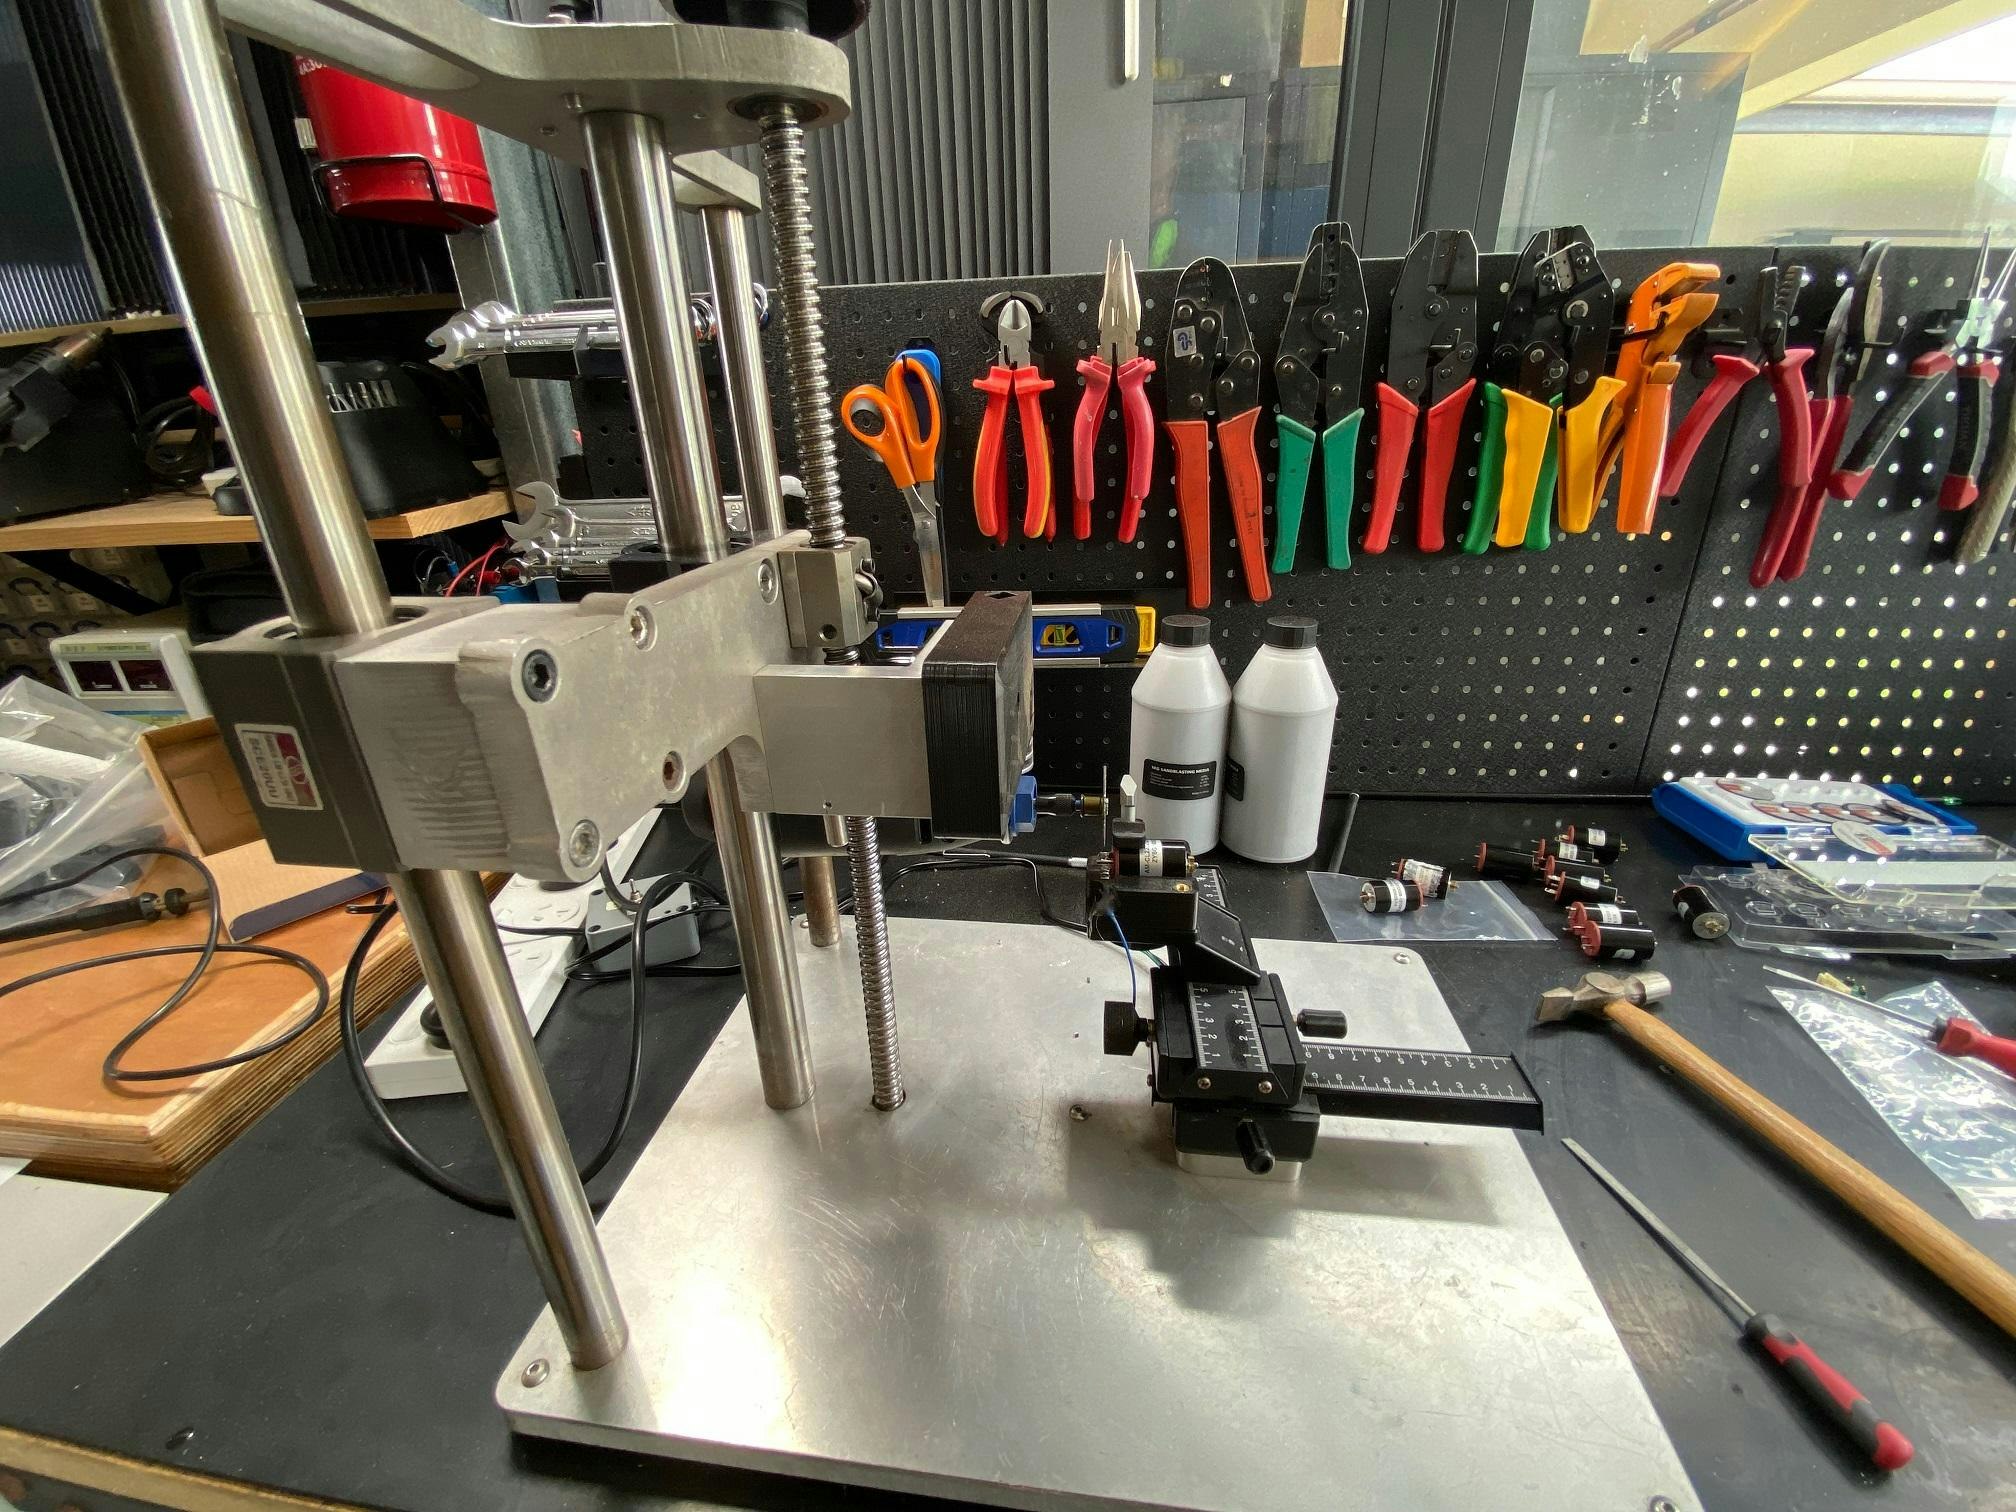
Ye olde faithful focus stacking rig
So, what we did is take the rig and mount a little Dremel tool onto it with a custom 3D printed bracket that can be fitted and taken off the rig with a high degree of precision. We can then turn the linear screw to get a very precise cutting action from the Dremel when it's installed on the rig.
The next thing we did is make another bracket that we put the motor into. It's held in with a little thumbscrew clamp. This holder was then mounted in an XY adjustment cradle giving us the ability to precisely move the motor in relation to the saw. By adjusting the XY axes we can precisely position the motor underneath the saw in preparation for the cut.
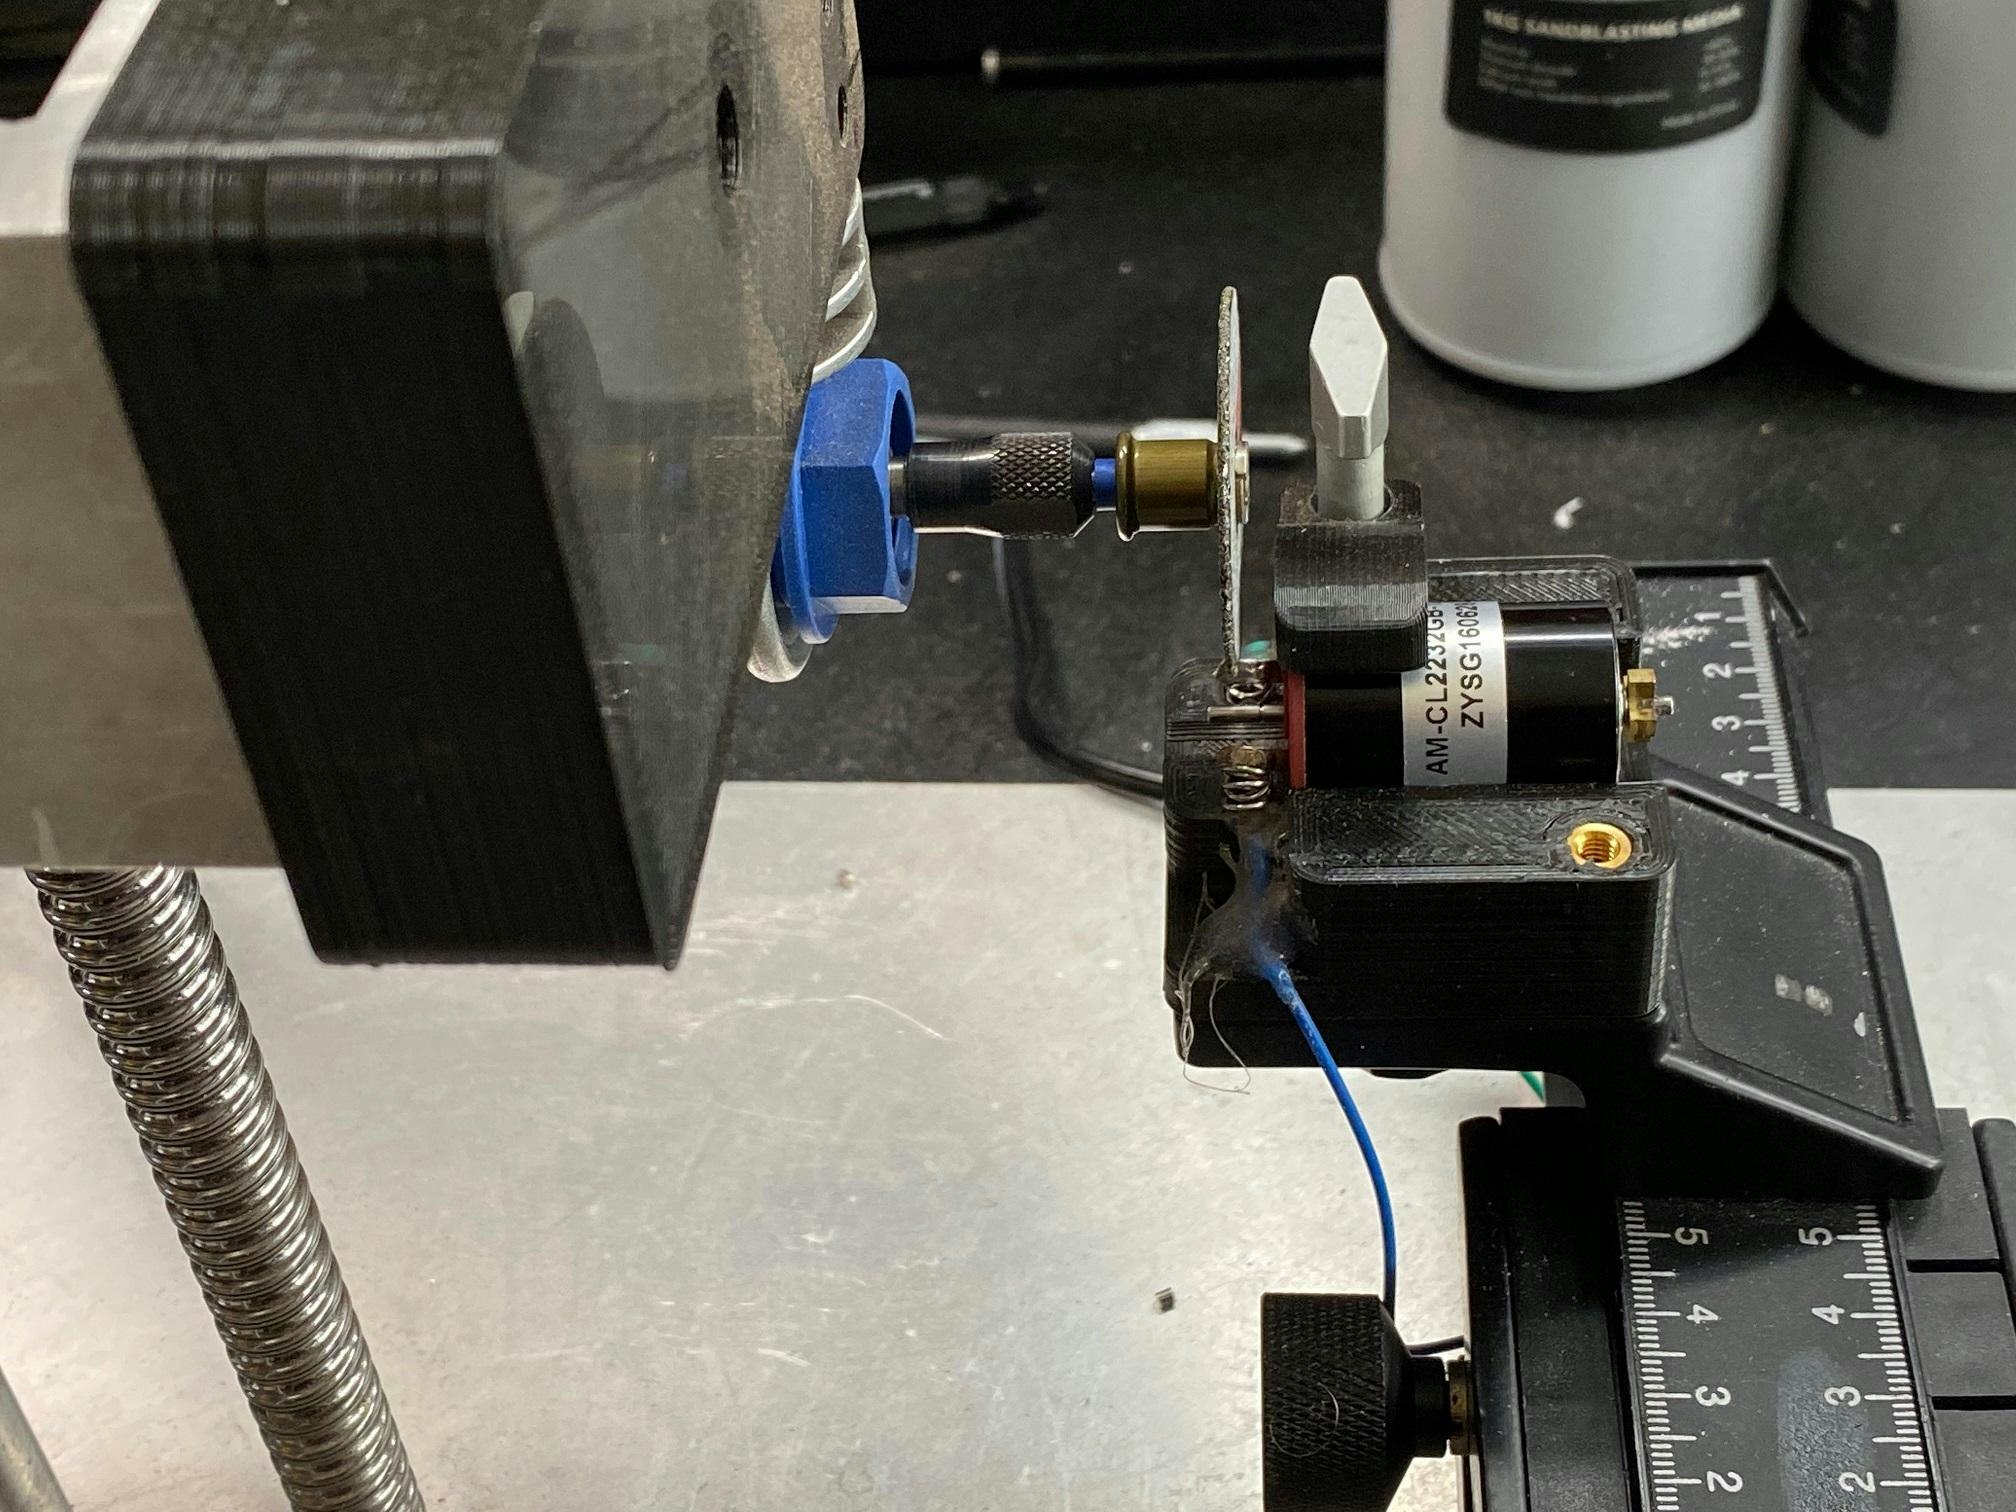
Dremel mount and precision XY adjustment
Our freshly minted motor cradle also contains a couple of electrical contacts so we can spin the motor while cutting. This ensures that there isn't an axial load on the motor in one direction while cutting the shaft. It's a little bit like the motor is its own lathe.
It works a treat! But that's only one half of the problem. The other part is how do we press the sensor wheel precisely perpendicular to the shaft?
We use the same rig! Fortunately, when Adam designed the rig he put a fairly solid aluminium block onto the linear screw which the camera was mounted to. This provided the perfect platform to press the little magnets into the holders, which is the first step of this process.
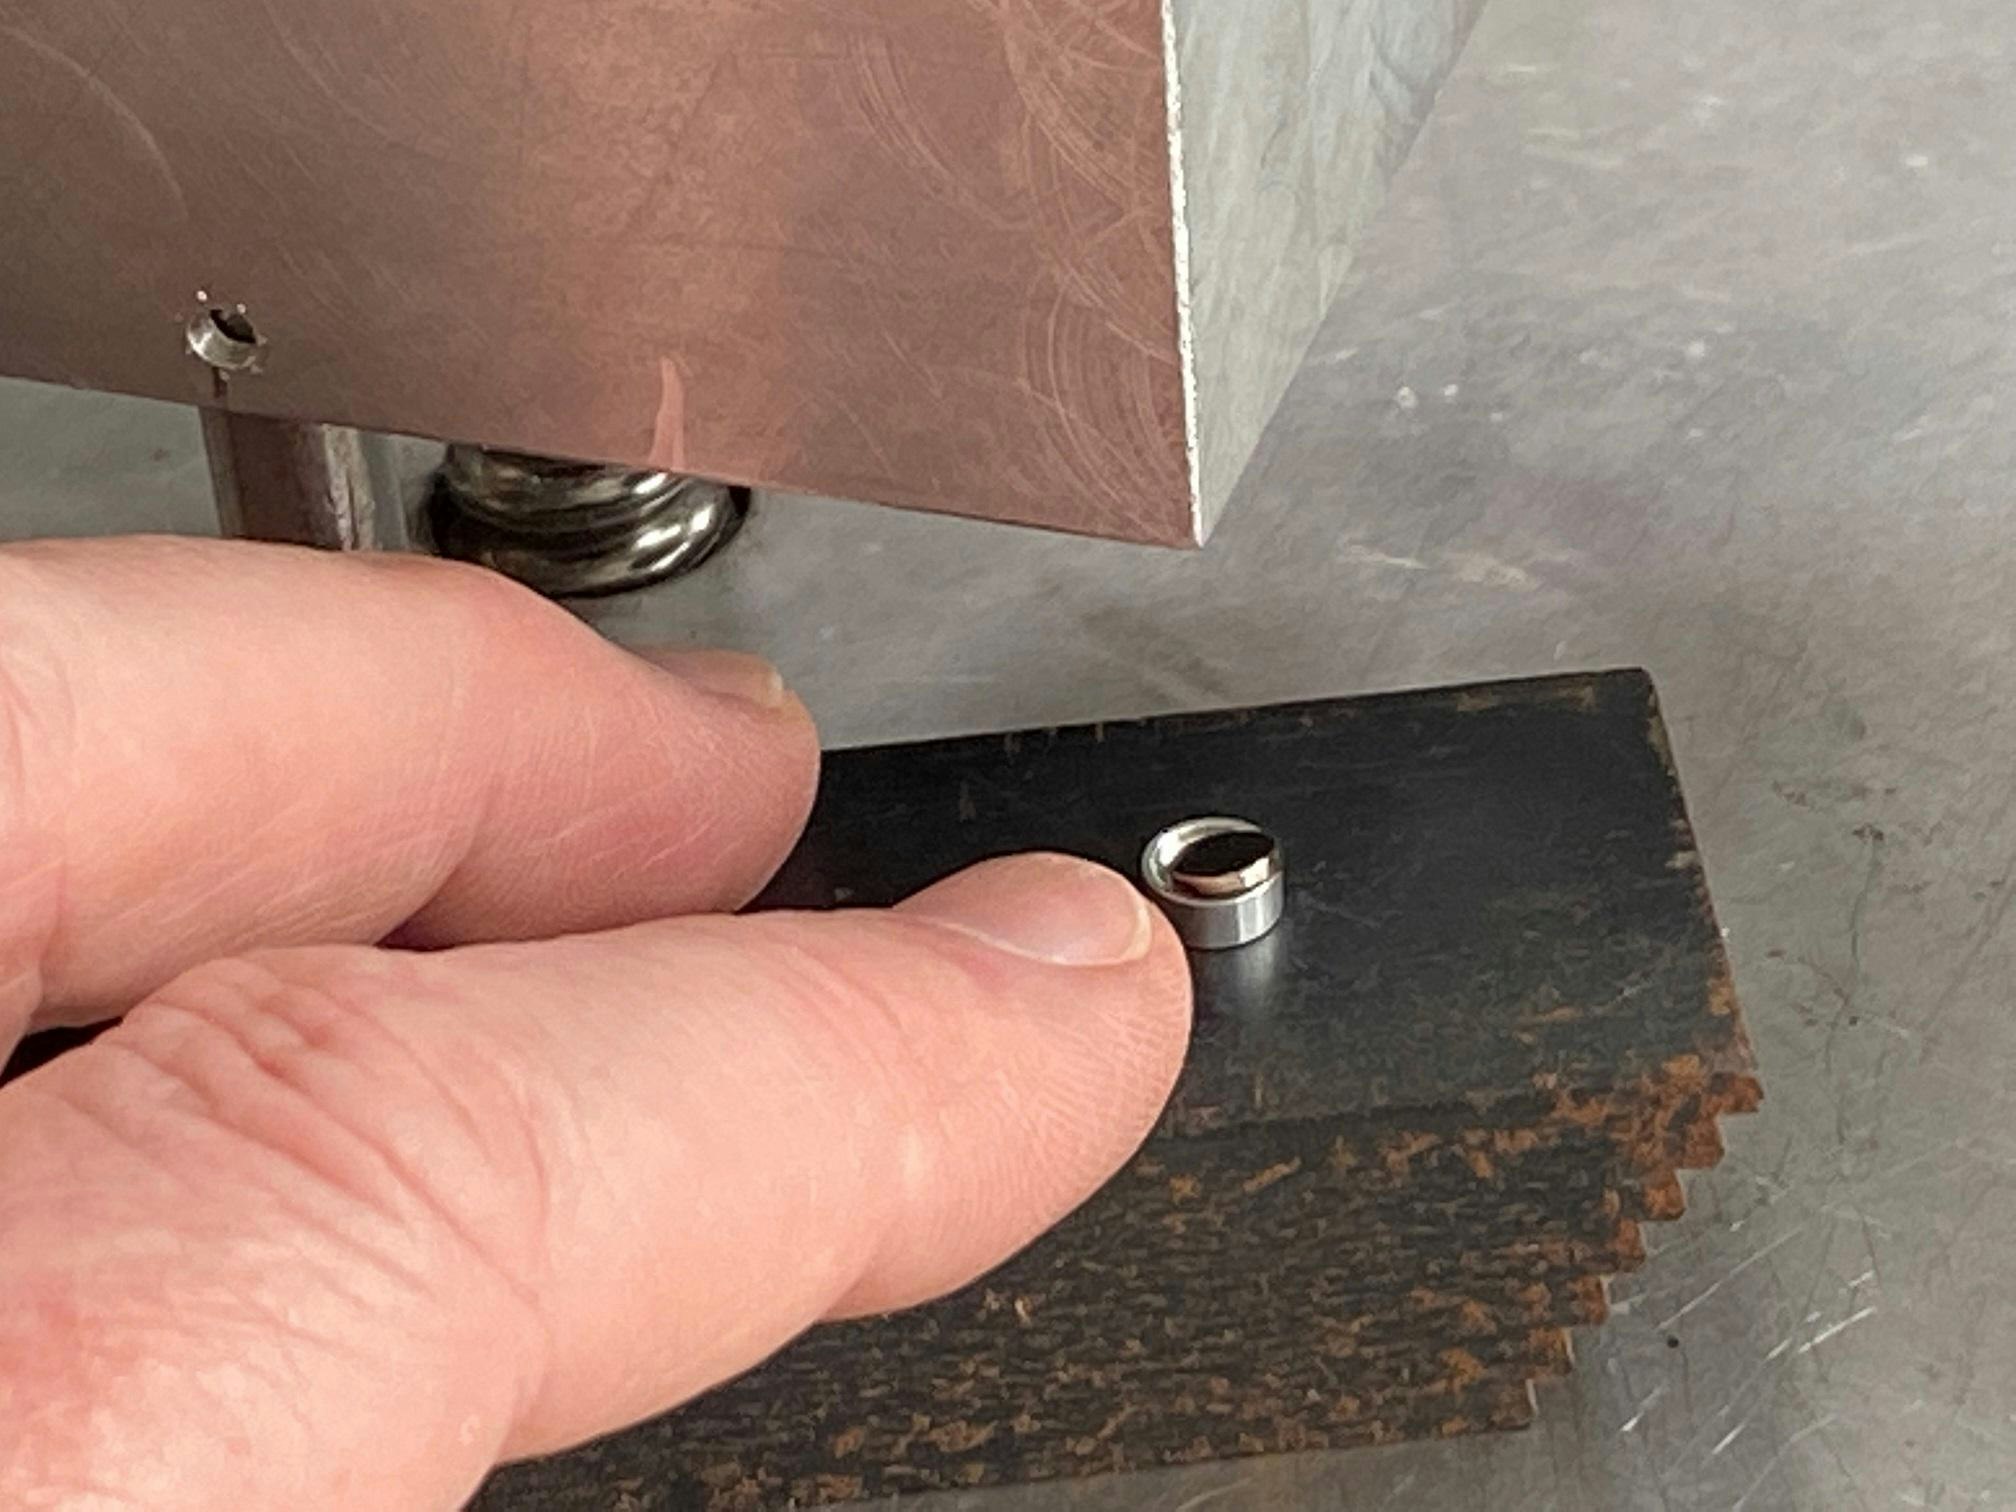
Pressing the magnet into the precision holder
The second step is to press the little tiny wheel onto the shaft. To do this we built a floating pin that slides in and out of the aluminium bracket and remains perpendicular to the set-up as it presses the wheel onto the shaft. In order to keep the motor shaft perpendicular to the little sensor wheel, we 3D printed a holder that keeps the orientation of the motor straight up and down.
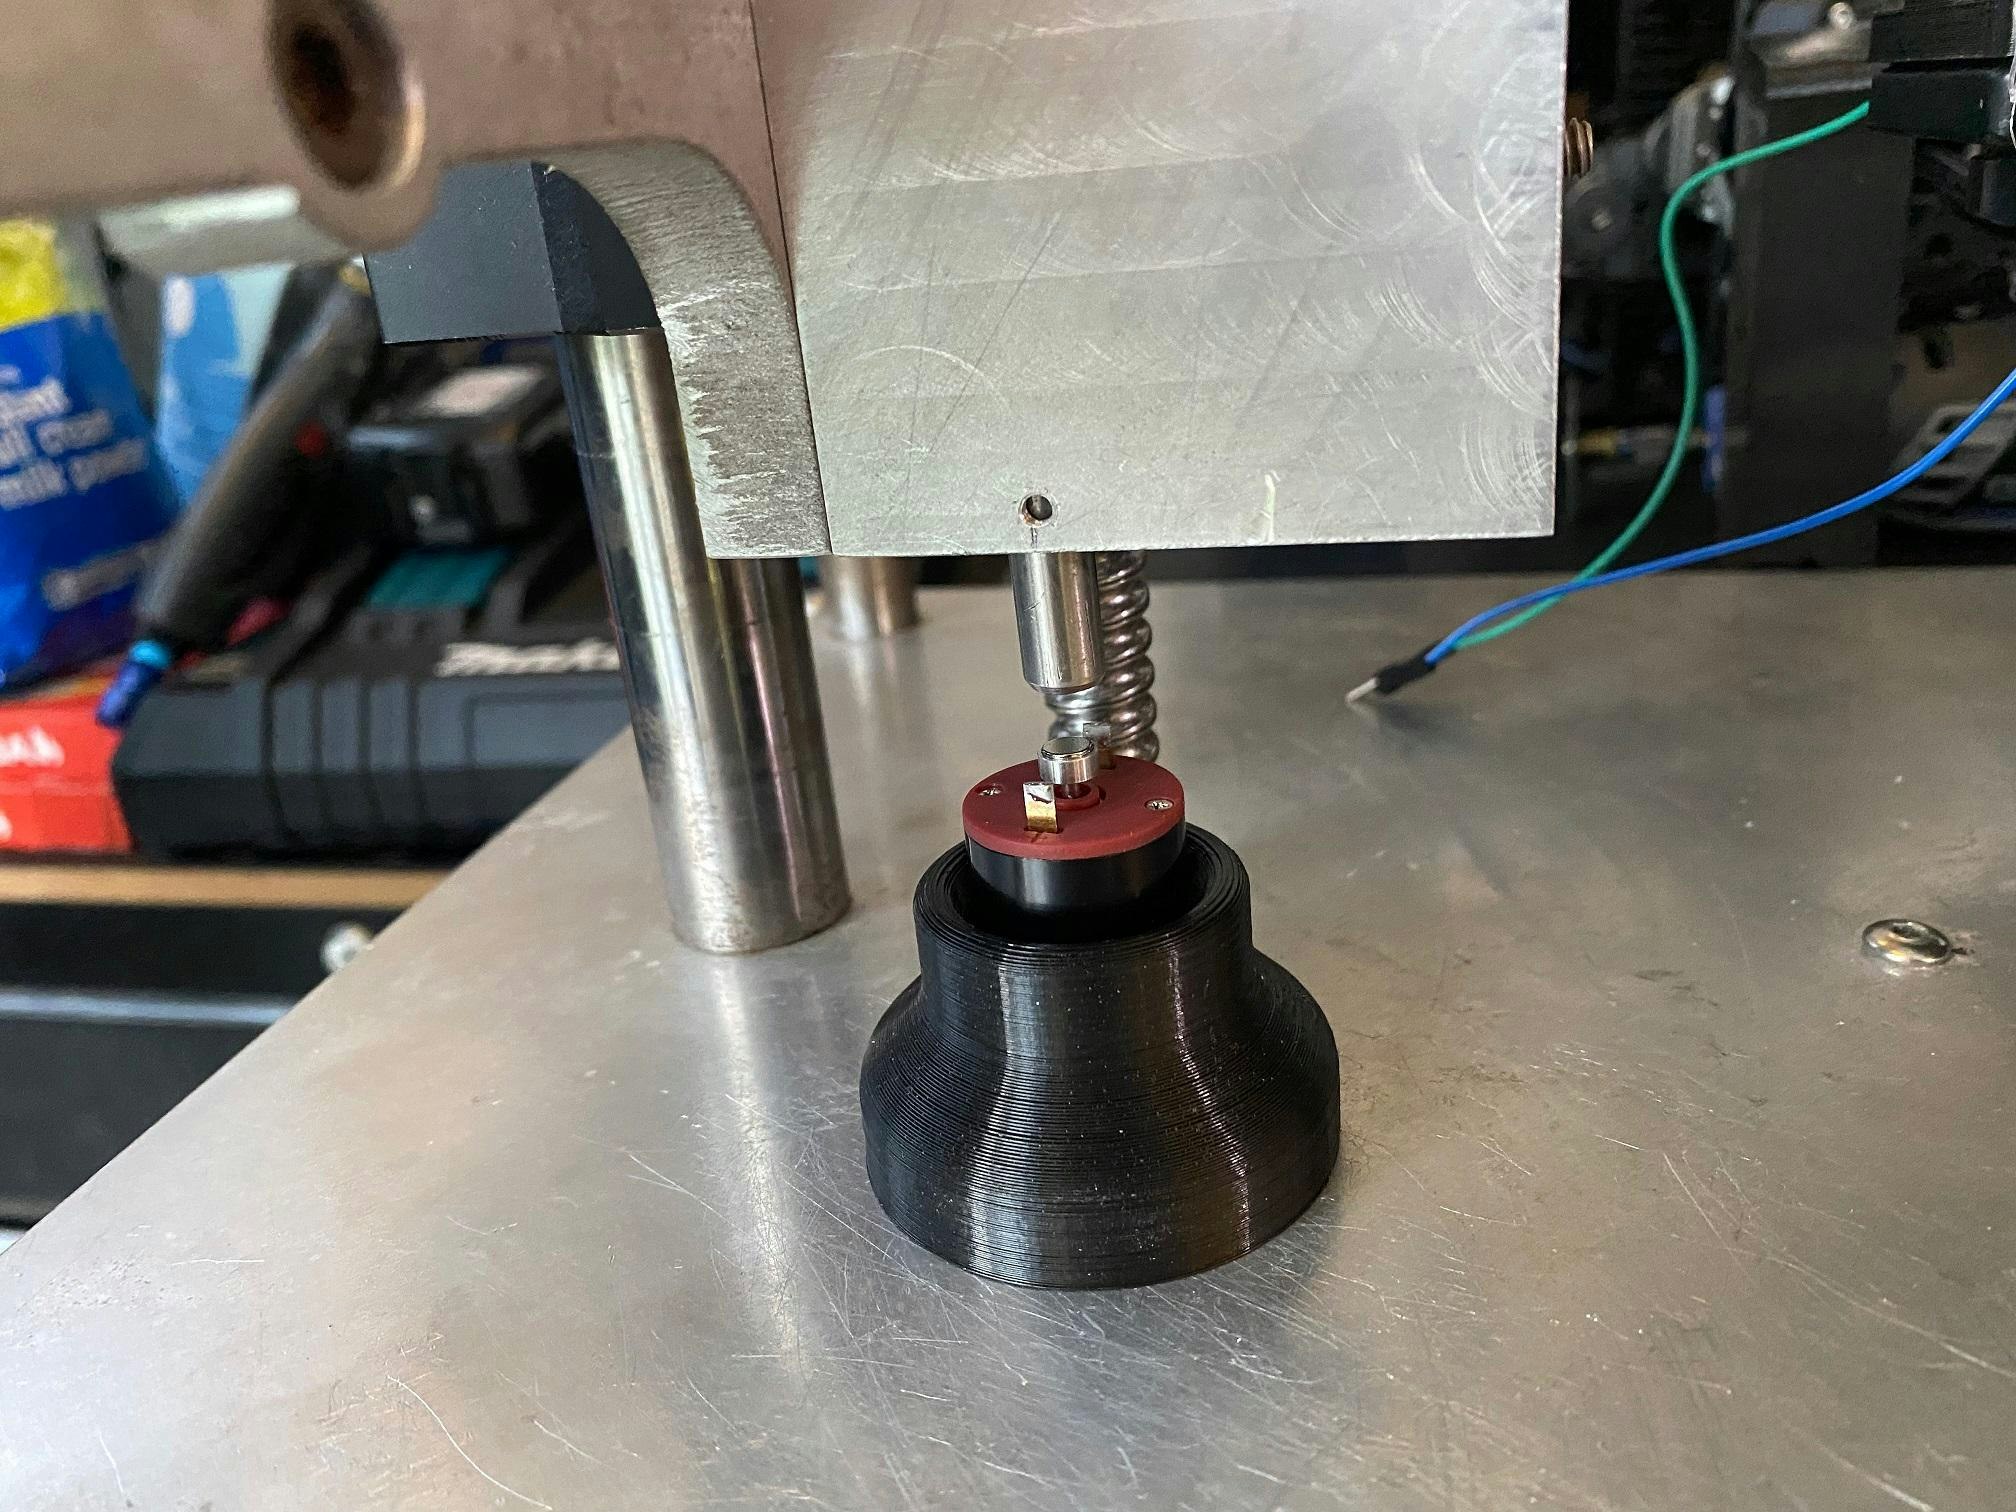
Pressing the assembled sensor wheel onto the shaft
Now that we have a process for converting our motors, we can start to convert them all to the higher resolution that we all want and deserve!
Thanks
That's all for this one. Stay creative and make sure to get in touch if you have any questions, want more details, want to discuss your motion projects, or anything – just email equiries@axiiio.com.